Using MovableType - The Basics
Logging into your system
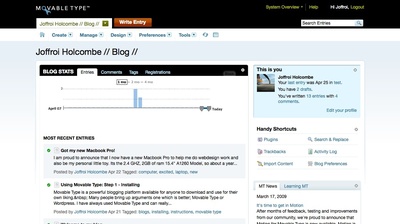
You need to go to the home link for your administrative panel and then log in. You should see the screen below:
Creating the Entry
Once you log in, if you notice towards the top-left, there is a create menu button. Place your mouse over that and then click on Entry. You may wonder on the difference between entries and pages. Entries are stories or updates to your blog. Pages are for content that you for standard information (i.e. an about or contact page).
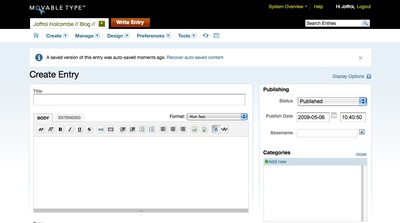
Here is an image of what you should see at the create entry page.

Here you have the basic information fields for everything. You have the standard title field, body, option to publish later, create categories, place tag words, etc. For the most part, the title and the body field are the main ones. The body is usually set up in rich text format which means the format you create your entry there is how it will looked when published. There is also a tool bar above the empty body slot for bolding, underlining, changing text size and uploading pictures.
Once you are finished, you can hit the save button and Movable Type will take it from there. It will automatically re-publish the effected pages.
Rebuilding your entire site.
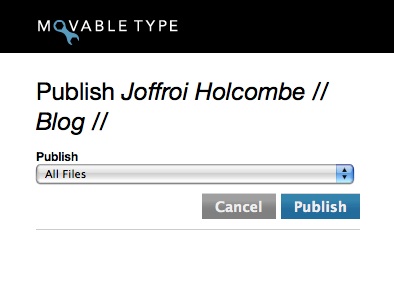
If you don't see any new changes on your site, you may try rebuilding your site. In the same menu as where the Create button is, on the far right (second to last) there is a circle symbol that almost looks like the recycle command. Click on that and a new window will appear that looks like below.

Click on the publish button and this will rebuild every page on your site.
This concludes the basics of just building a basic web page on a standard template.
